안녕하세요?
Will입니다. 이번에는 SharePoint 2010의 설치에 대한 내용을 쓰도록 하겠습니다.
기본적으로 Window2008 R2에 MSSQL2008 을 설치 하여서 SharePoint를 설치 하도록 하겠습니다.
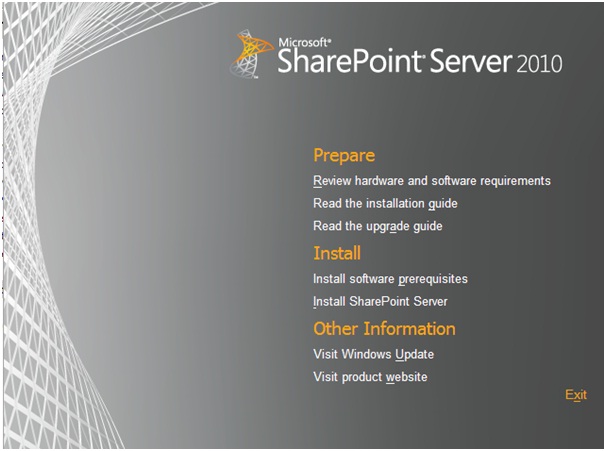
1.SharePiont Server 2010 설치 파일을 더블 클릭 하면은 아래와 같은 화면이 나옵니다 Install -> Install software prerequisites 를 클릭하여서
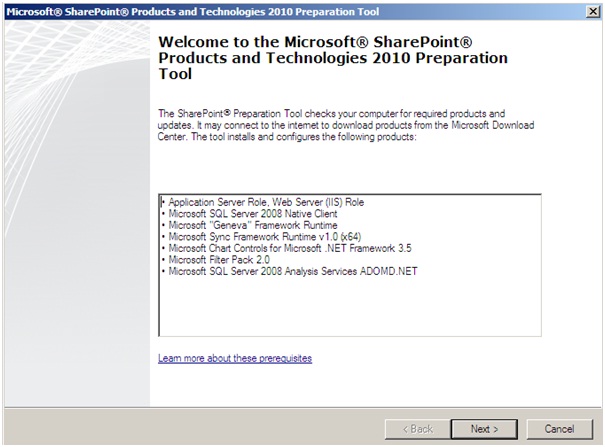
SharePoint의 구성 시 필요한 사항들을 체크 및 설치를 합니다.
2. 해당 구성들을 확인 하기 위해서 넥스트.
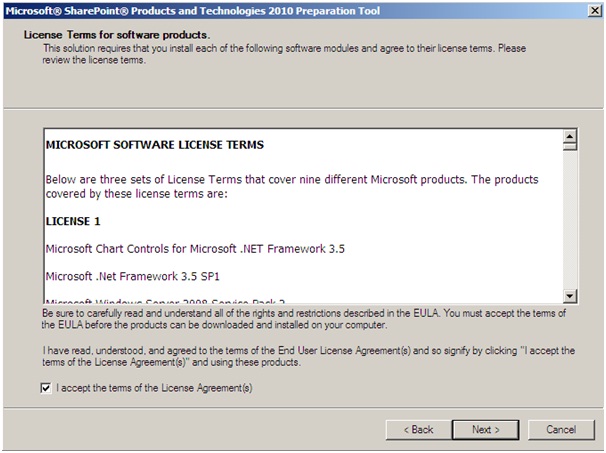
3. 해당 설치 프로그램을 설치 할 수 있도록 I accept 체크 넥스트
4. 설치가 완료 되었으면은 완료.

5. 이제 본격적으로 SharePoint를 설치해 보도록 하겠습니다. Install -> Install SharePoint Server 클릭.
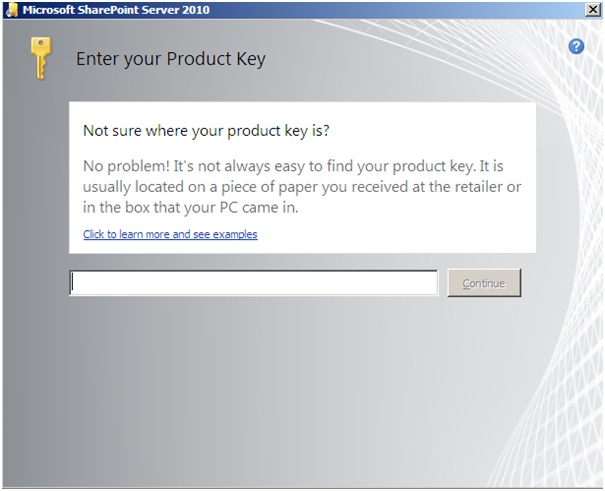
6. SharePoint 2010 키를 입력 합니다. 그리고 계속 클릭.
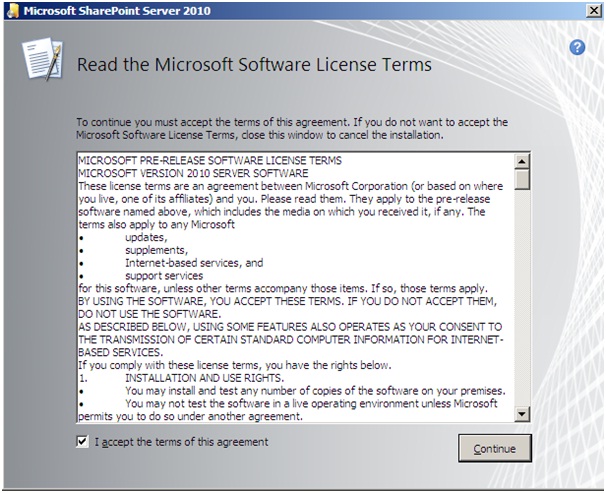
7. License에 대한 동의를 하고 계속
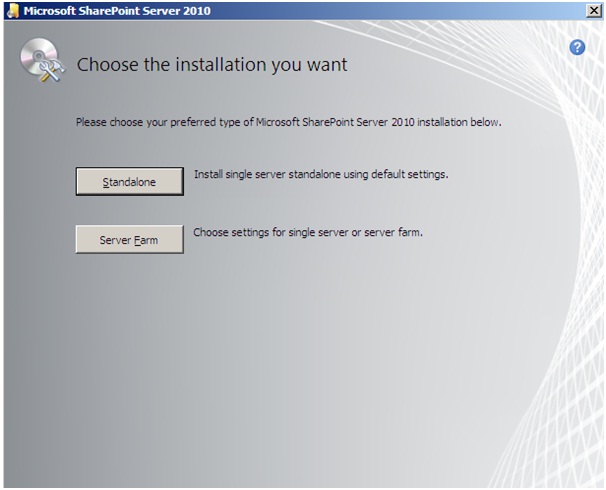
8. 독립된 서버가 아닌 서버 팜으로 구성 하도록 하겠습니다. Server Farm 클릭.
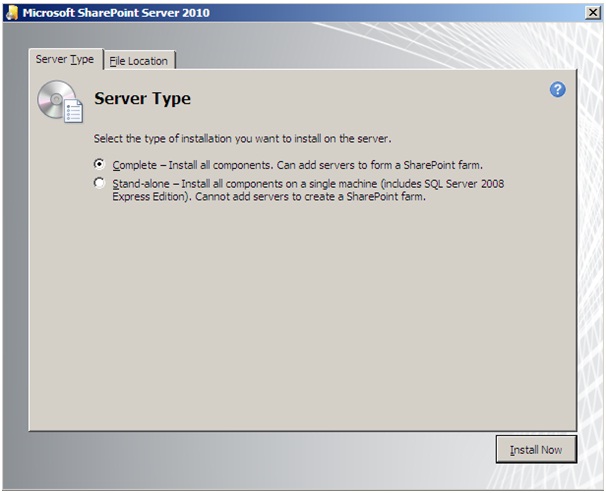
9. Server Type에서 Stand - alone 이 아닌 전체를 설치 하도록 하겠습니다 Complete 선택 -> 지금 설치.
10. 클릭이 완료 되면은 지금 진행중인 화면이 나옵니다.

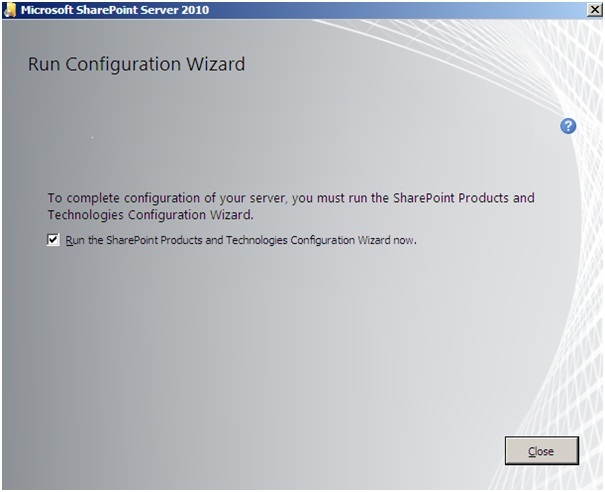
11. 설치가 완료 되었으며 이제 SharePoint의 구성이 남았습니다 Configuration Wizard를 선택한 상태에서 닫기를 선택.
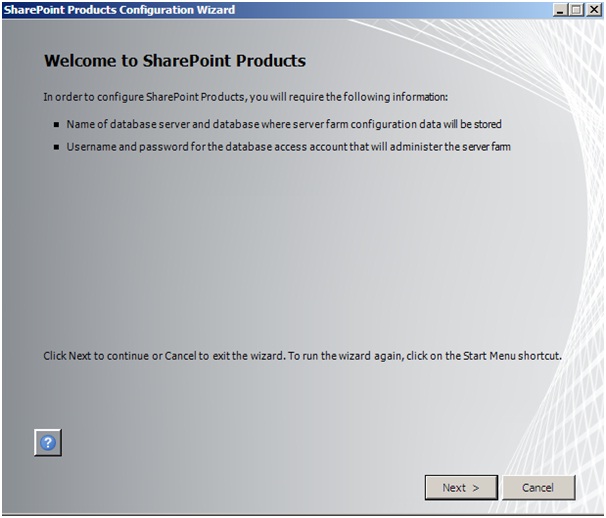
12. SharePoint를 구성 하기 위한 요건들 확인 후 넥스트
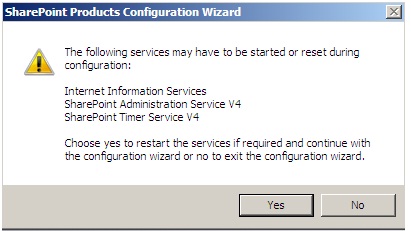
13. 해당 서비스들이 돌아 갈수 있도록 수락 Yes 클릭.
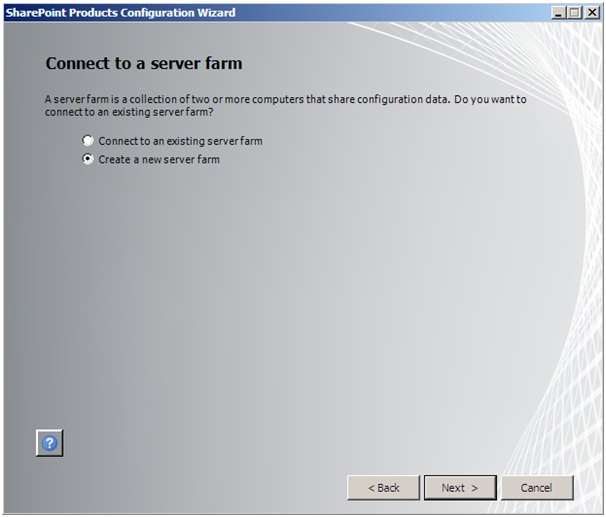
14. 현재 구성되어 있는 팜이 없으므로 Create a new server farm 체크 -> 넥스트.
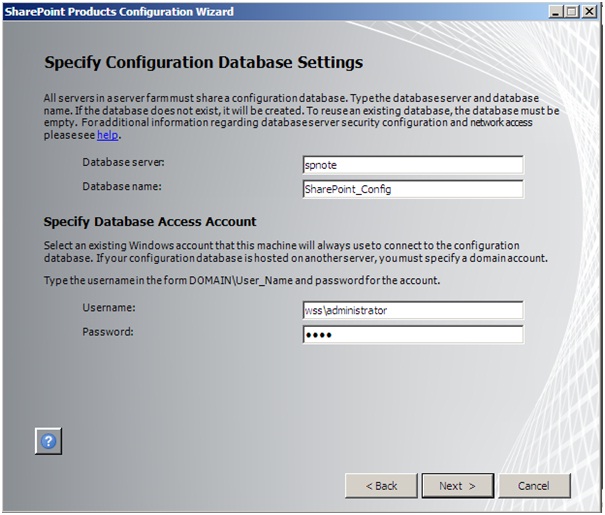
15. DB정보와 사용자 아이디 및 비번을 넣고 넥스트.
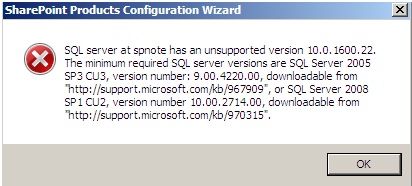
16. 켁 에러가 나오네요.... 읽어 보니 SQL Server 2008 SP1 CU2를 설치 안했다는 에러 네요. SQL Server 2008 SP1 을 설치 하도록 하겠습니다
http://www.microsoft.com/downloads/details.aspx?FamilyID=66ab3dbb-bf3e-4f46-9559-ccc6a4f9dc19&displaylang=en <-- 해당 url에서 다운을 받고 설치.
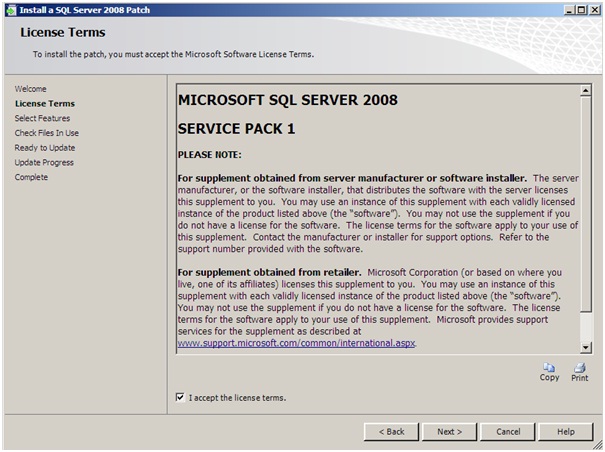
17. 동의 하고 넥스트.
18. 전체 선택 후 (MSSQLSERVER는 무조건 되어있어야 함 안되있으면은. 취소 했다가 다시 클릭)-> 넥스트

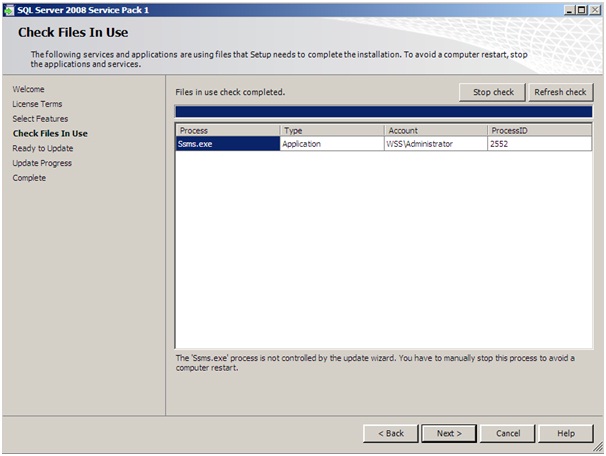
19. 파일 체크가 완료 되면은 넥스트 클릭.
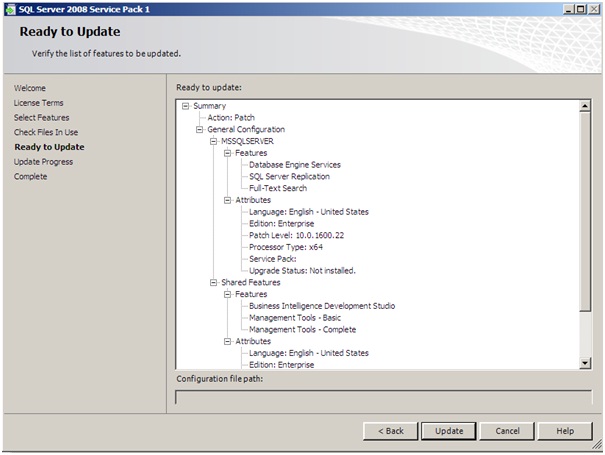
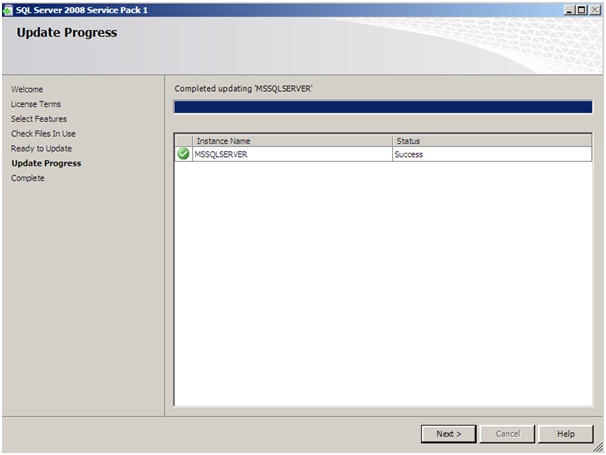
20. 해당 구성 확인후 Update 클릭.
21. 설치가 성공 하면은 넥스트. -> 완료 화면 닫기 클릭.
22. 다시 시작 -> 모든프로그램 -> SharePoint 2010 -> Configuration Wizard 클릭 후 -> 12번에서 15번까지 다시 설정
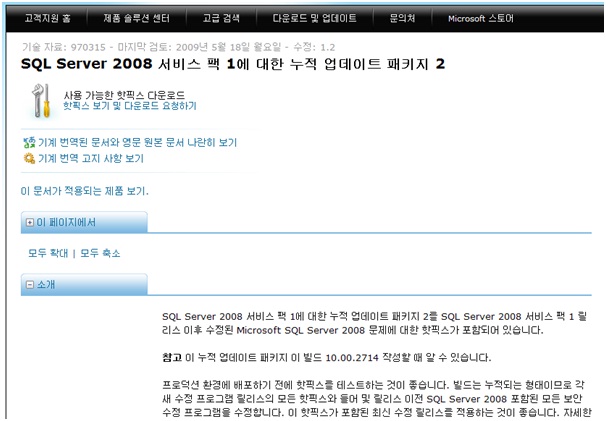
켁;; 그래두 똑같은 에러가 ㅡㅡ 알아 보니 버젼이 틀려서 안되는 거였네;; 10.00.2714.00 찾기 위해서 해당 Url로 이동
http://support.microsoft.com/kb/970315
23. 해당 페이지가 나오면은 핫픽스 보기 및 다운로드 요청 하기 클릭.
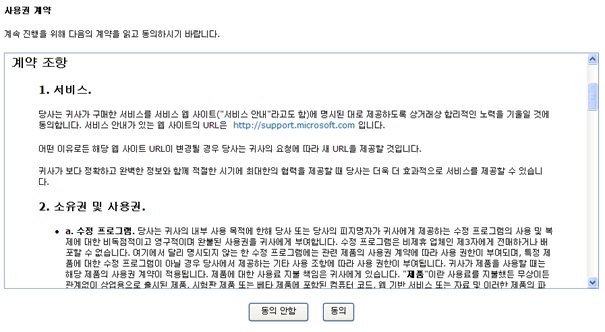
24. 약관의 동의 후 동의를 클릭.
25. 파일 이름에 x64 인지 체크 후 해당 파일 두개 선택 후 메일주소를 쓰면은 해당 파일을 다운 받을 수 있는 url경로와 압축 풀시 키값이 날라 온다.
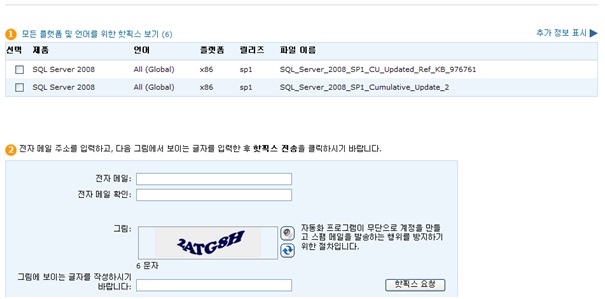
26. 내용은 이렇다. 요기 라구 체크 한데서 다운을 받고 비밀 번호는 그 밑에 있는걸 쓰면은 해당 핫픽스를 다운 받을 수 있다.
IMPORTANT INFORMATION
For your convenience, we put the hotfix that you requested on an HTTP site. You can download the hotfix from this site without us filling up your e-mail inbox.
WARNING This hotfix has not undergone full testing. Therefore, it is intended only for systems or computers that are experiencing the exact problem that is described in the one or more Microsoft Knowledge Base articles that are listed in "KB Article Numbers" field in the table at the end of this e-mail message. If you are not sure whether any special compatibility or installation issues are associated with this hotfix, we encourage you to wait for the next service pack release. The service pack will include a fully tested version of this fix. We understand that it can be difficult to determine whether any compatibility or installation issues are associated with a hotfix. If you want confirmation that this hotfix addresses your specific problem, or if you want to confirm whether any special compatibility or installation issues are associated with this hotfix, support professionals in Customer Support Services can help you with that. For information about how to contact support, copy the following link and then past it into your Web browser:
http://support.microsoft.com/contactus/
For additional support options, please copy the following link and then paste it into your Web browser:
http://support.microsoft.com/
Before you install this hotfix
------------------------------
If you decide to install this hotfix, please note the following items:
Do not deploy a hotfix in a production environment without first testing the hotfix.
Back up the system or the computer that will receive the hotfix before you install the hotfix.
Additional hotfix information
-----------------------------
This hotfix package uses a password. Therefore, you must enter for each package the password that we included in this e-mail message. To make sure that you enter the correct password, we recommend that you highlight, copy, and then paste the password from this e-mail message when you are prompted. If you do not enter the correct password, you cannot install the hotfix.
NOTE Passwords are set to expire every seven days. Download the package within the next seven days to make sure that you can extract the files. If there are fewer than seven days left in the password change cycle when you receive this e-mail message, you receive two passwords. If this is the case, use the first password if you download the hotfix package before the date in the "Password Changes On" field that is listed in the table at the end of this e-mail message. Use the second password if you download the hotfix package after the date in the "Password Changes On" field.
NOTE For your convenience, we send the hotfix location to you in a hyperlink. To connect to this hotfix location, you can click the hyperlink in the "Location" field that is listed in the table at the end of this e-mail message to have your Web browser open that location. However, sometimes e-mail program settings disable hyperlinks. If the hyperlink in this e-mail message is disabled, please copy the hyperlink in the "Location" field and then past it into the address box of your Web browser. Make sure that you include the exact text (without spaces) between the parentheses in the http:// address.
Package:
-----------------------------------------------------------
-----------------------------------------------------------
KB Article Number(s): 948567, 949862, 953626, 956574, 956686, 960616, 960976, 960978, 961106, 961146, 961237, 961282, 961325, 961340, 961526, 961648, 961695, 961760, 961803, 961811, 961920, 961928, 961935, 961979, 962003, 962008, 963061, 963117, 963118, 963659, 965217, 965221, 966306, 967148, 967157, 967161, 967162, 967164, 967169, 967178, 967205, 967206, 967315, 967337, 967480, 967523, 967524, 967552, 967561, 967614, 967749, 967821, 967889, 967983, 967984, 968080, 968085, 968152, 968159, 968290, 968369, 968449, 968539, 968543, 968615, 968722, 968740, 968741, 968742, 968834, 968900, 969007, 969050, 969086, 969099, 969131, 969235, 969357, 969362, 969386, 969453, 969467, 969469, 969513, 969528, 969588, 969611, 969653, 969775, 969793, 969844, 969872, 969890, 969942, 969997, 970014, 970044, 970058, 970070, 970133, 970150, 970160, 970184, 970198, 970255, 970287, 970315, 970324, 970349, 970399, 970461, 970507, 970538, 970550, 970551, 970654, 970666, 970713, 970719, 970731, 970823, 970824, 970909, 970966, 970989, 971020, 971049, 971051, 971057, 971064, 971068, 971125, 971132, 971136, 971402, 971482, 971491, 971622, 971640, 971683, 971753, 971772, 971780, 971898, 971914, 971934, 971985, 972068, 972075, 972101, 972184, 972197, 972198, 972200, 972201, 972203, 972207, 972261, 972271, 972367, 972395, 972440, 972458, 972498, 972521, 972537, 972545, 972650, 972681, 972687, 972759, 972763, 972777, 972833, 972856, 972893, 972936, 972939, 972969, 972984, 973087, 973090, 973102, 973103, 973192, 973200, 973204, 973223, 973250, 973251, 973255, 973257, 973292, 973300, 973302, 973303, 973524, 973580, 973588, 973602, 973696, 973877, 973897, 973953, 974076, 974231, 974262, 974269, 974276, 974289, 974371, 974398, 974404, 974712, 974766, 974816, 974948, 975055, 975171, 975272, 976761
Language: All (Global)
Platform: x64
Location: (http://hotfixv4.microsoft.com/SQL%20Server%202008/sp1/SQL_Server_2008_SP1_CU_Updated_Ref_KB_97/10.00.2740.00/free/398850_intl_x64_zip.exe) <--요기
Password: )llB]dsAM <-- 요기
-----------------------------------------------------------
KB Article Number(s): 960616, 961106, 961760, 961811, 963061, 965217, 967206, 967337, 967561, 967983, 967984, 968085, 968290, 968449, 968834, 968900, 969007, 969131, 969235, 969362, 969469, 969588, 969775, 969872, 970070, 970184, 970198, 970255, 970315, 970461, 970550
Language: All (Global)
Platform: x64
Location: (http://hotfixv4.microsoft.com/SQL%20Server%202008/sp1/SQL_Server_2008_SP1_Cumulative_Update_2/10.00.2714.00/free/381569_intl_x64_zip.exe) <-- 요기
Password: +iSZWIF <-- 요기
NOTE Make sure that you include all the text between "(" and ")" when you visit this hotfix location.
27. SP1을 깔아서 그런지. 핫픽스 두개 중에 한개만 설치가 된다 압축을 풀고 나서 끝자리가 315로 되어 있는건 설치가 안되고 다른 건 설치가 된다 SP1에 똑같은 버젼의 315가 포함이 되어 있어서 설치가 안됨.
무튼 한개의 핫픽스를 깔고 (까는 방법은 SP1 설치 방법과 같다 위에 그림들을 참고 하시기를..)
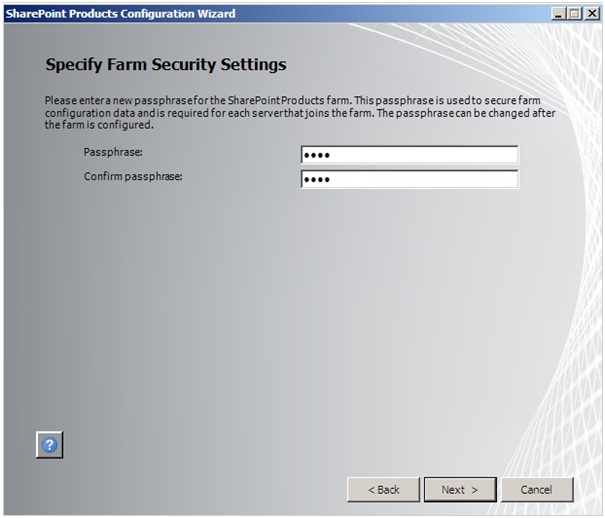
28. 다시 12에서 16번 까지 하였더니 이번에는 해당 버젼이 맞아서 넘어 감. 비밀 번호를 넣고 넥스트.
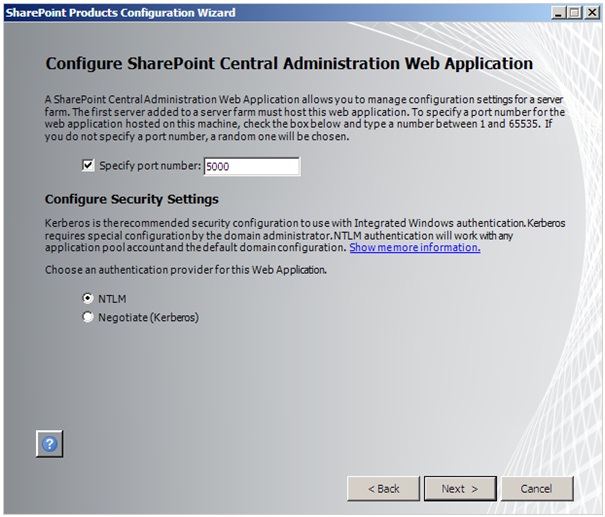
29. portnumber를 5000번으로 지��� 하도록 하겠습니다. 그리고 인증은 NTLM으로 하도록 하겠습니다 그리고 넥스트
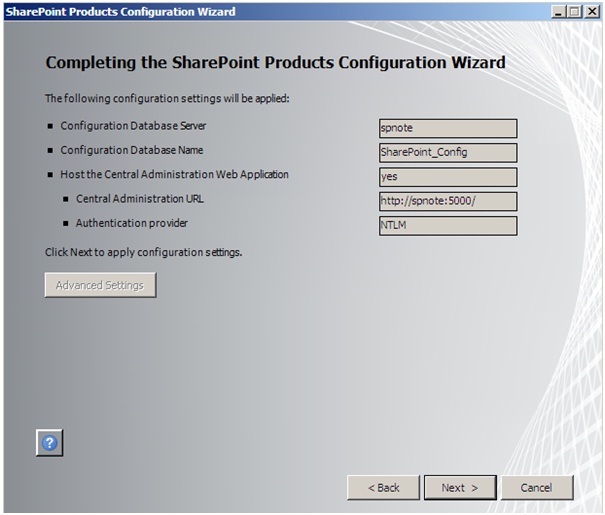
30. 해당 구성이 맞는지 체크를 하고 넥스트. 여기가 맞나;; SharePoint 구성의 진행 화면이 나옴..
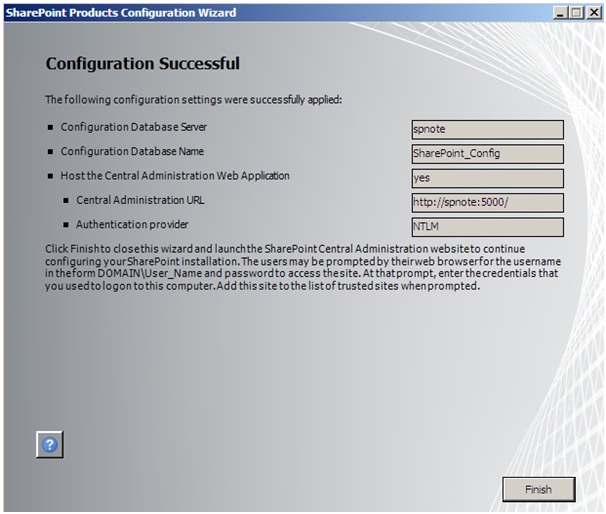
31. 구성이 완료 되었다는 페이지가 나오고 완료 클릭.
32. 해당 구성 화면을 들어가 보면은.. SharePoint 2010의 구성 페이지를 볼 수 있음.
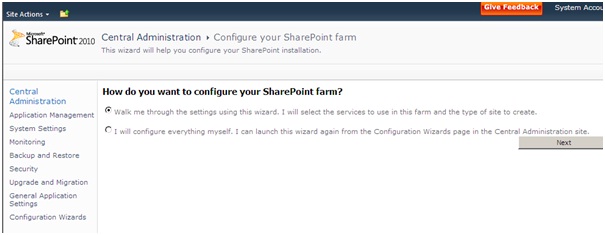
SharePoint 2010은 언듯 봐도 참많이 바뀌었다는 생각이듬. 리본 메뉴가 생겨 났으며, SPS사라지구 각각의 구성으로 밖으로 나와 있는 것을 볼 수 있었음. 해당 구성 방법은 이번주 내로
추가 해서 올리도록 하겠습니다 .
저도 피곤한지라... 짬날때 조금씩 하구 있으니.. 많은 양해를;;;ㅋㅋ
궁금하시거나 모르시는게 있으면은 댓글을 달아 주시거나~ 메일을 보내주시면은 답변을 드리도록 하겠습니다.